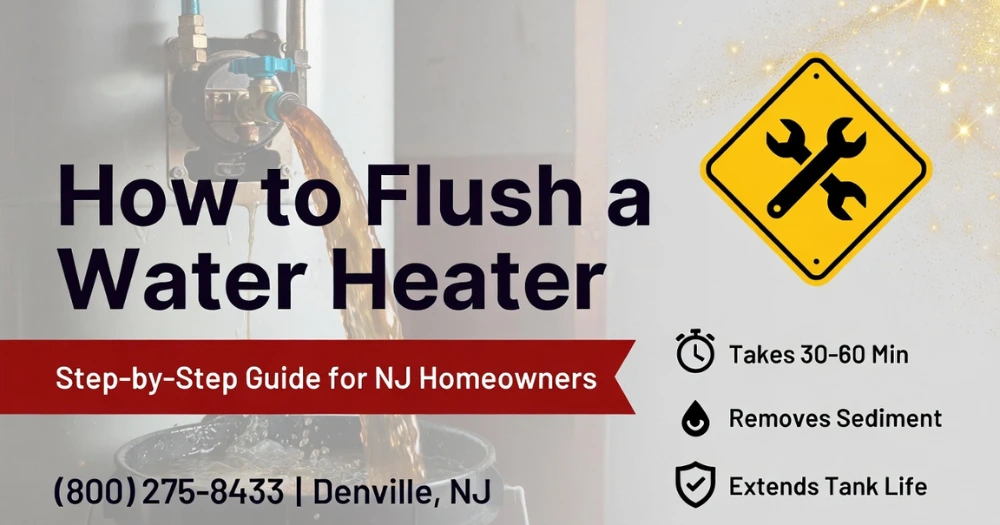
Your water heater works every single day — heating water for showers, dishes, laundry, and everything in between. But like any hardworking appliance, it needs regular water heater maintenance to keep running efficiently. One of the most important and most overlooked tasks is flushing the tank.
If you have never flushed your water heater — or if it has been more than a year since the last time — this guide covers everything you need to know: why it matters, how to do it correctly for both gas and electric units, how often it should be done, and when it makes more sense to call a licensed plumber instead of tackling it yourself.
Why Flushing Your Water Heater Matters
The water coming into your home contains naturally occurring minerals — calcium, magnesium, and other dissolved solids. Over time, these minerals settle at the bottom of your tank and form a layer of sediment. The longer it sits, the thicker and harder it gets.
Here is what that sediment buildup actually does to your system:
Reduces efficiency. The heating element or burner has to work harder to heat water through the sediment layer, which drives up your energy bill without delivering more hot water.
Causes noise. If you hear rumbling, popping, or banging coming from your water heater, that is sediment. Water trapped beneath the buildup boils and forces its way through, creating those sounds. It is not dangerous on its own, but it is a clear sign that a flush is overdue.
Shortens the lifespan. Sediment traps heat at the bottom of the tank, which accelerates wear on the tank lining and can eventually cause cracks, corrosion, and leaks.
Reduces hot water capacity. As sediment accumulates, it physically displaces water in the tank — meaning you get less usable hot water per cycle.
Regular water heater flushing prevents all of this and keeps your unit running the way it was designed to.
How Often Should You Flush a Water Heater?
According to the U.S. Department of Energy, annual flushing is the standard recommendation for most homeowners. However, a few factors can change that:
Hard water areas — Morris County and much of North Jersey have moderately hard water, which means mineral deposits build up faster. If you are on well water or notice frequent scale buildup on faucets and fixtures, flushing every six months is a smarter approach.
High-demand households — larger families running hot water continuously put more mineral load through the system faster.
Older units — if your water heater is more than seven to ten years old and has never been flushed, do not attempt a DIY flush. Years of hardened sediment can clog or break the drain valve during the process. This is a job for a licensed plumber.
A good rule: if you are asking “do I need to flush my water heater?” — the answer is almost certainly yes.
What You Need Before You Start
For a standard tank water heater flush, you will need:
- A garden hose long enough to reach a floor drain, utility sink, or outdoor area
- A flathead screwdriver
- Work gloves — the draining water will be hot
- A bucket (optional, for catching initial drips)
Read your owner’s manual before starting. Specific models may have slightly different valve locations or manufacturer recommendations that override general guidance.
How to Flush a Water Heater: Step-by-Step
Step 1 — Turn Off the Power or Gas
Electric water heater: Go to your electrical panel and flip the breaker that controls the water heater to the OFF position. Never attempt to flush an electric water heater with the heating elements still energized — they will burn out if exposed to air while the tank is draining.
Gas water heater: Turn the thermostat dial to the “pilot” setting, or shut off the gas supply valve entirely if your unit or manufacturer recommends it. Do not leave the burner in active heating mode during the flush.
Step 2 — Shut Off the Cold Water Supply
Find the cold water inlet valve on top of or near the top of the tank and turn it off. This stops new water from entering the tank while you drain it.
Step 3 — Open a Hot Water Faucet
Open a hot water tap somewhere in the house — a bathroom or kitchen faucet works fine. This relieves pressure in the system and allows the tank to drain properly. Leave it open throughout the process.
Step 4 — Connect a Hose to the Drain Valve
The drain valve is located near the bottom of the tank. It looks like a hose bib or spigot. Attach your garden hose securely and run the other end to your drainage point — a floor drain, utility sink, driveway, or outside area that can handle hot water safely.
Step 5 — Open the Drain Valve and Let the Tank Empty
Open the drain valve using your hand or a flathead screwdriver depending on the valve type. Water will begin flowing through the hose immediately — and it will be hot, so keep hands and feet clear.
Let the tank drain completely. If the water runs cloudy, brownish, or you see gritty particles coming through the hose, that is sediment — exactly what you are trying to remove.
If the valve clogs: This happens with heavily sediment-loaded tanks. Try opening and closing the valve several times to dislodge the blockage. If it does not clear, stop and call a plumber. Forcing a clogged or deteriorated drain valve can cause it to fail and leak.
Step 6 — Flush with Cold Water Until It Runs Clear
Once the tank is empty, turn the cold water inlet back on briefly. This stirs up any remaining sediment at the bottom and pushes it out through the hose. Watch the water coming out of the hose — when it runs clear with no visible particles, the flush is complete.
Turn the cold water inlet off again and let the remaining water drain.
Step 7 — Close the Drain Valve and Refill the Tank
Close the drain valve tightly, disconnect the hose, and reopen the cold water inlet valve to refill the tank. Keep the hot water faucet inside the house open — you will hear air sputtering out as the tank fills. When a steady, air-free stream of water flows from that faucet, the tank is full. Turn the faucet off.
Step 8 — Restore Power or Gas
Electric: Flip the breaker back on. The heating elements are now submerged and safe to energize.
Gas: Relight the pilot light if you shut off the gas completely, or return the thermostat from “pilot” back to your normal temperature setting.
Step 9 — Check for Leaks
Inspect the drain valve and all connections around the bottom of the tank. A small amount of dripping immediately after reconnecting is normal and usually stops within minutes. If it continues, tighten the valve or call a plumber — a valve that leaks after a flush sometimes indicates the valve seat has worn and needs replacement.
How to Flush an Electric Water Heater vs. a Gas Water Heater
The flushing process for gas and electric water heaters is nearly identical. The main differences are in how you shut off and restore power:
Electric water heater flushing steps: Always shut off at the breaker first. Do not restore power until the tank is completely full — exposed heating elements will burn out in seconds if energized without water covering them.
Gas water heater flushing steps: Set the thermostat to “pilot” rather than shutting gas off entirely if you are comfortable relighting the pilot. If you shut gas off completely, follow your unit’s pilot relighting instructions carefully before restoring to normal operation.
For both types, the drain, flush, and refill procedure is the same.
Tankless Water Heater Flushing: A Different Process
If you have a tankless water heater, the standard flush process above does not apply. Tankless units do not store water, so there is no sediment tank to drain. However, they do accumulate mineral scale inside the heat exchanger over time — particularly in hard water areas — which reduces efficiency and can eventually cause failure.
Flushing a tankless system requires a descaling procedure using a submersible pump, a food-grade descaling solution (typically white vinegar or a commercial descaler), and flush kit valves. The pump circulates the solution through the heat exchanger for 45 to 60 minutes to dissolve mineral buildup.
This process is more involved than a standard tank flush and varies significantly by brand. For Navien, Rinnai, and other tankless systems we service, we recommend professional descaling annually in hard water areas and every two years in softer water areas.
When to Skip DIY and Call a Licensed Plumber
Flushing a water heater is a manageable task for a confident homeowner when the unit is relatively young and has been maintained regularly. But there are situations where calling a professional is the smarter, safer choice:
- The tank has not been flushed in more than two to three years
- The drain valve is old, stiff, or shows signs of corrosion
- Water does not flow when you open the drain valve
- The unit is leaking before you even start
- You are not comfortable shutting off gas or working near the electrical panel
- You have a tankless system that needs descaling
- The water heater is more than ten years old
At Doctor Water Heater, our licensed master plumber Anthony Intile performs complete water heater maintenance services throughout Denville, Morris County, and Bergen County — including full tank flushing, anode rod inspection, pressure relief valve testing, and a system checkup to catch small issues before they become expensive repairs.
Frequently Asked Questions
Should water heaters be flushed regularly?
Yes. Annual flushing is the standard recommendation for most tank water heaters. In hard water areas like much of Morris County, NJ, twice a year is better.
What happens if you never flush your water heater?
Sediment accumulates and hardens, reducing efficiency, increasing energy costs, causing noise, and eventually damaging the tank. Heavily neglected units can develop cracks and leaks that require full replacement.
How do I know if my water heater needs flushing?
Rumbling or popping sounds, reduced hot water supply, rust-colored water, or higher energy bills are all signs that a flush is overdue.
Can flushing a water heater cause damage?
If the unit is old, the drain valve is corroded, or sediment is severely hardened, attempting a DIY flush can damage the valve or cause leaks. This is why we recommend professional service for units that have not been maintained regularly.
How long does it take to flush a water heater?
A standard tank flush typically takes 30 to 60 minutes from start to finish, including draining, flushing, and refilling.
Schedule Your Water Heater Flush in Denville, NJ
Regular maintenance is the simplest way to get the most out of your water heater — and flushing is the single most impactful maintenance task you can do. Whether you want to handle it yourself with the guidance above or prefer to have it done right by a licensed professional, Doctor Water Heater is here to help.
Contact us today for a free estimate on water heater maintenance, flushing, repair, or replacement throughout Morris County and Bergen County, NJ.
📞 (800) 275-8433 | Denville, NJ 07834